home about us email printables

May 4, 2012

Dr. Seuss Bathroom redo..

I wish I could show you the before pictures that I actually remembered to take this time! Our computer died on us and had other plans to take those "before" pictures with it. Long story short-they are gone so just picture a white bathroom with nothing in it- K.

Before we moved into our house I found this shower curtain the kids loved.


Next, we picked Benjamin Moores Glacier Blue paint for the walls in eggshell. We had builder grade white paint before. With 3 kids there was no way that thin builder grade paint was going to stand a chance, so painting was a must! Each time I tried to wipe marks off the walls it felt like the white paint came off also-Ekk! This is the color we picked.

Then we took down our towel rack that looked like this, because there is no way it would hold towels for 3 kids, we tried.

and instead of the towel rack we added these "initial" hooks for each child (and one for our guests)  I scooped them up from the dollar bin at Michaels awhile back, then I spray painted them Banister Red. Next, we added some white boards with wood we already had at in the garage to section things off, and painted them the same color as all the trim in there.


Then Ben painted this Dr. Seuss sign. After he was done painting, I used my silhouette to make a stencil for the "near and far" words and then painted them black.


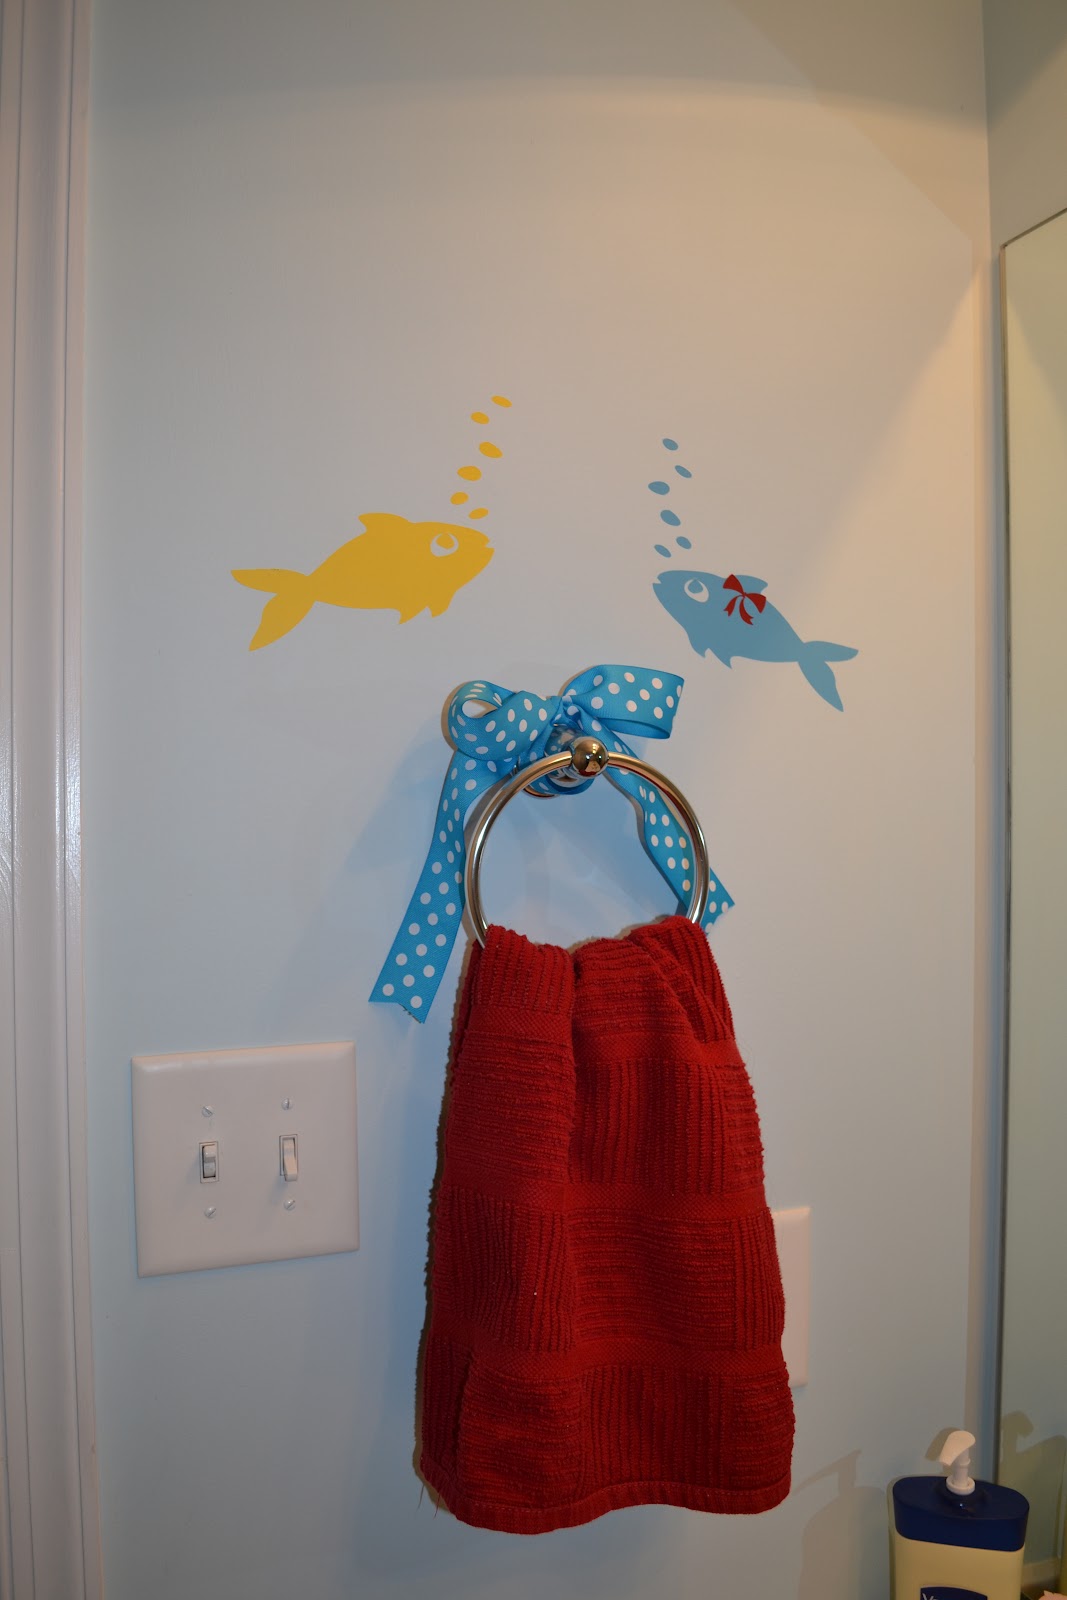
Since I had the silhouette out, I added our favorite Dr. Seuss quote to the walls.


The kids love it, and boy are ever glad to have all the towels off the floor with these new hooks, which makes us even happier!
Thanks for stopping by!

February 5, 2012

Put a RING on it...

           I don't think our kids could be any more excited to send valentines to school for their friends. I remember always looking forward to all those fun holiday parties in school. Since our kids LOVE ring pops....


they asked for a whole slew of them to give to their friends at their class valentines day party. So I made these little "3 RING Circus" valentines to use on the ring pops.
        I printed them on card stock, cut, and the kids attached them to the ring pop with tape.  I included the free printable for you as well here. Happy Love Day!


                                            THANKS FOR VISITING!


Pin It


The graphics for the printable are compliments of Just So Scrappys Big Top Kit

January 24, 2012

DIY Glitter Wall Paint

            Is there really anything more girlie then glitter or pink? My daughter didn't think so when she helped us pick out her room color. One of our old neighbors told me about adding paint crystals into your paint for a glitter effect. Once we moved in to our new place we got started working on our daughters room, and decided we should give it a try.

       I was initially a little worried about the glitter. I thought it may flake off and leave a mess on the floor. Seriously, who wants to clean up glitter?! Trust me it doesn't come off! Somehow it shines and shimmers without coming off, even after you rub and rub like the dickens to "make sure". The paint department at Lowe's said if we ever repaint that room in the future, all we had to do was just prime it first. No crazy sanding involved at all! Can you imagine the mess! We are so in love with it I can't imagine ever repainting. Although, I am sure a day will come when a pink room with glitter isn't "cool" anymore. Until then I am going to soak up every minute of our little princess while she's still young enough to enjoy this stuff.

           We picked up 3 little packets of the paint glitter/crystals. So far the only place I know that carries them is Lowe's. The packaging says you only need one or two per gallon of paint, but since we were painting the room a very light pink we wanted to make sure it would sparkle, so we went with 3 of them for extra shine. So glad we did.  I would recommend 3 unless you are using a dark color of paint. (just in case you were wondering... they also sell other colors of  the glitter/crystals) We liked the silver best for this project.

          We mixed our little hears out.  You want to add in a little in at a time, otherwise all the paint crystals will sink to the bottom. Ben used a mixing attachment he has on his drill and it worked wonders. The crystals stay suspended in the paint for sometime. After a few days though, they will sink to the bottom of the paint can. The color we selected for her room was Valspar Apricot Fluff.

        
           The picture doesn't really capture the sparkle effect as much as you see in person. It sparkles a fair amount during the day with all the natural light that comes in her room, but at night when its dark it shimmers SO much. We just love it. It was almost impossible to capture the glitter effect with the camera, but here is a little of what it looks like. It really shines so much more then the picture shows. It does go on very evenly and is such a fun treatment to any girls room!

    Then we added a vintage looking chandelier to her room which makes it all the more girlie.
   Once we put the last few finishing touches on the room we'll post a room reveal. If you try the paint crystals on a room or project we would love to see it!  Happy painting!

                                          THANKS FOR VISITING
Pin It


This is where I party....


Todays Creative Blog

DIY Pottery Barn Over Sized Pencil

                 I fell in love with this pencil I saw in the Pottery Barn catalog! There is always something in between those pages that triggers a project or two. Remember this...


           I so wanted one to go in our kids playroom! The wood on the right side of the picture below is what we started with. Then the left side shows what it looks like after a few cuts on the saw to give it that pencil shape. So sorry for the picture quality, the pictures of the process were taken with my phone camera. Man, I need to remember to have  a better camera on hand. Maybe next time! Hopefully this still helps some though.   
    We painted it, and decided to recycle a long asparagus can to use as the pencils metal casing. Ben nailed the can down for stability, and to make it look more like a real pencil.
                       Here's an idea of the size of it compared to a normal pencil.

           I cut some vinyl with my silhouette and walaaa, and over sized Pottery Barn inspired pencil to hang in our kids playroom at a fraction of the cost!


                                                    Thanks for visiting!
Pin It


This is where I party...


Todays Creative Blog

January 20, 2012

Inch by Inch...

       Today I want to share these growth charts we made for a craft show, these collapsible charts were inspired by this post. They have been a little time consuming to make with the painting and glazing, but well worth it. We also did all the tick marks by hand, and I love how it turned out. Then I applied all the vinyl I cut from my silhouette. The pictures do not do them justice at all.
     These growth charts  make me want to soak up all the moments even more that seem to go by so fast when you have kids. I love to see them grow into the amazing people they are meant to be, but my heart just melts to see them grow quite so fast. We would love to see any projects you use to capture your kids as they grow.
THANKS FOR VISITING!

January 12, 2012

I think I'm addicted...

       Hello group, my name is Jenn and I am addicted to iron on vinyl!  It seems like most of my project these days involves my trusty iron. Here are a few of the things we whipped up lately.
We put names on all the stockings. The kids got SO excited about this one.

I spruced up one of my daughters old sweat shirts.

 We made a pillow for the kids Great Grandma to use in her garden chair outside. The chair has hand prints from all the grandkids painted on it, that's what inspired our design.

             Made a shirt for an upcoming activity for the youth of our church.

            I also made a shirt for Mr. Build It, who loves to golf, and big putts.


        I really can't seem to get enough of this stuff. Its fun and super easy. Anyway, we hope your having fun getting your craft on as well! Have a great weekend and happy crafting!

                                            THANKS FOR VISITING!
     Don't forget to follow. You won't want to miss some of the building projects and tutes coming soon!

Pin It

Pottery Barn Inspiration

          Ok, so every time the Pottery Barn Kids catalog comes, so many projects get tacked on our "to do list". I could sit and soak up every page of cuteness for hours. It's my favorite thing to open the mailbox and find, for sure!

       I saw these and just knew they would make such fun art centers for our nieces for Christmas.

          We loved those! We thought we would tweak them a little and make them magnetic boards so the girls could switch out pictures easier, I am not big on having push pins in kids bedrooms. Especially younger kids. It makes me so nervous someone will end up eating one! Maybe its just me, but that's what inspired our little change to them.


        We think they turned out A-ok, I scooped up some magnets at Hobby Lobby that matched the girlies personalities and room colors. We loved seeing their reaction when we did our gift exchange with them. Hopefully they will get lots of great use out of them!

                                         THANKS FOR VISITING


Pin It

I'm back....

       So sorry friends for the hiatus! We are alive and well. Our family moved right before the holidays and its been a whirlwind around these parts unpacking, gearing up for Christmas, and doing oodles of home projects. I can't wait to share those with you!! So now we are back in the groove for more regular scheduled programing!
    

         We saw the most clever Grandparents chair on Pinterest. Pretty amazing, right!
 
       Well for Christmas Mr. Build It  made one for my in laws! They loved it, so do the itty bittys. Hopefully there will be many amazing memories for them rocking away together.
                     
    I wish we had taken more pictures of the "process" but things were so busy for us this is all we ended up with.

   We converted a rocking chair we had for sometime but never used. It was practically new considering the amount of use it got. So we added the side arms to it and before we knew it....It was done.

Pre-stain

                    The finished product. Thanks pinterest for the great idea!

                                           THANKS FOR VISITING!

September 19, 2011

Fall is in the air...

             
This time of year is so fun, I love fall! A few weeks before school started I went through the kids drawers to see what still fits and all that back to school clothes hoopla. Well, somehow I found this great orange sweat shirt that still fits our little man. Totally warm and comfy, just plain. So, since my love for all things iron on vinyl is in full swing I knew I had to spruce this bad boy up a bit. This is what we ended up with.  

                                   THANKS FOR VISITING AND HAPPY FALL

August 24, 2011

Motherhood...

     Motherhood is amazing, and blissful, and some days down right hairy! I read a post over here, awhile ago about those exact moments I think we all have as mothers. Some days boil over with interruptions and mayhem. Shawni included a quote that I have been madly in love with ever since. It may in fact, be one of my very favorite quotes! It helps me remember that on those days where there are interuptions peaking at me from every corner, and yet nothing seems to be getting done, its alright. It helps me remember to soak up every ounce of my children while I can because they seem to grow up way to fast! Those joyful moments, mixed with all that mayhem and interruptions of life and motherhood, make this mortal journey sweet, and perfect.

Here is a free printable just for you! Go here to download it. Prints best as a 5x7


THANKS FOR VISITING!

This printable was made using the Mom Kit by: Just So Scrappy


I am linked up here:
Blue Cricket Designs,733blog